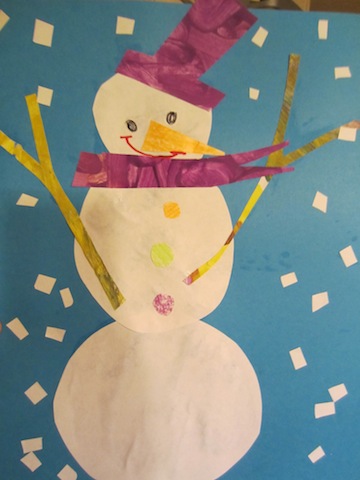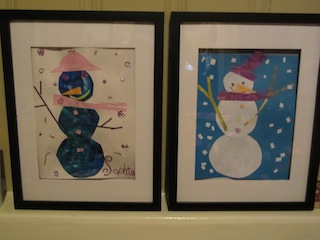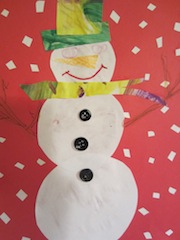
A few weeks ago we shared the Whimsical Christmas Tree art project. To keep your little ones entertained, help them make Whimsical Snowmen!
Items Needed:
Construction paper
Scissors
Elmer’s School Glue
White Paper: Acrylic Painter’s Pad (found at Hobby Lobby, Amazon, Dick Blick’s, and/or your local Wal-Mart) and/or just plain white copy paper
Cotton Balls
Glitter
Scrapbook Paper (Scraps are fine)
Paints (washable paints for toddlers/young children) or Acrylics (for older children and/or supervised painting of toddlers)
Paint brushes
Painting cups (use disposable lids or detergent lids for easy tossing)
Step One: Give your child a piece of white paper (painter’s grade), a paintbrush, & their favorite color of paint! Ask them to paint a picture—for young toddlers–you’ll notice a big glob of paint with various brushstrokes that may not resemble anything specific. For older children, you may want to direct them to paint the paper using different swirls, diagonals; shapes, etc. (Use this paint to cut out scarves, mittens, etc. for your snowman creation.)
Set it aside to dry!
Step Two: Allow the painted paper to dry as you use the scrapbook/construction paper to cut out snowballs of various sizes proportional to creating a symmetrical snowman on your specific size paper (think paper for end product). The freelance cut snowballs can be white like the snow we envision or they can be magical—-pink like a princess, red like Spiderman, etc. Let your imagination run wild with your child’s guidance! Set these aside.
Step Three: Ask your child if he/she would like the snowman to have a scarf, buttons, etc. Cut these out—perfection is not need—freelance. Set them aside.
Step Four: Pull cotton balls apart if you are creating small snowflakes for your pictures.
Step Five: Ask your child if he/she would like anything else to add to his/her picture. Ideas: a crescent moon, a full moon, a shining sun, stars (use stickers), etc. Prep these items for your painting. Or set aside glitter your child will use on his/her masterpiece.
Step Six: If your child’s painting is completely dry. Begin creating the Whimsical Snowmen (or women, children) by gluing items your child selects down on to the selected backdrop (specific color of construction paper or painted backdrop (from Whimsical Christmas trees—see step one). Add snowflakes, glitter, etc. to create this unique Whimsical Snowman!
Step Seven: Add fingerprint ornaments for snow–dip finger in paint and touch where you want the snowflakes falling! Allow his/her paper to dry again.

Step Eight: Display your child’s work in his/her playroom and/or on the refrigerator. Buying an inexpensive frame from Wal-Mart to display your child’s artwork will delight your child—as you display his/her creative expression throughout the month! Or gift your child’s painting to a grandparent, aunt, etc. to enjoy in their home!

This simple activity will enhance your child’s creativity and she/he will be asking to create more Whimsical Snowmen. Allow time in your day for creative hands and minds to work in sync as they create beautiful masterpieces. No two will look alike as you help inspire your child’s creativity!
If you don’t have room for all of these wonderful creations, capture digital images of them and take them to your local children’s hospital, nursing home, elderly neighbors, etc. Spread the magic of winter with a hug, a smile, & a Whimsical Snowman!
Latest posts by Litsa @How to Have it All (see all)
- Mushrooms: Portobello, Morels, & More - April 25, 2016
- Giving Back: Get Involved - December 2, 2015
- The Autumn Advantage - December 1, 2015


Super cute activity, Litsa!!!