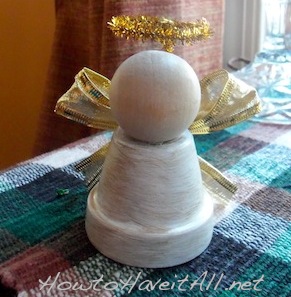
Several years ago I made these little Angel Bells. I saw the little clay pots at Michaels a few weeks ago and decided to make them again. They are easy to make and are a cute addition to gift baskets! If you have older kids, they will be able to help with this project too.
Angel Bell Supplies
1 1/2″ Clay Pot
White Acrylic Paint
Silver or Gold Acrylic Paint
Foam Brushes
1″ Wooden Doll Head
Pipe Cleaners
Gold or Silver Wire Ribbon
Bells
Thin ribbon or string
Glue Gun
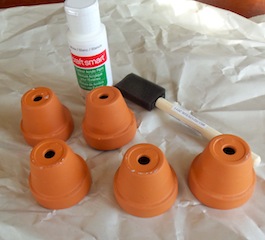
The first thing to do is to paint the clay pots white. Take a foam brush and paint the pots with the acrylic paint. It will take about 3 coats to cover the pot. The paint dries quickly so this process doesn’t take too long.
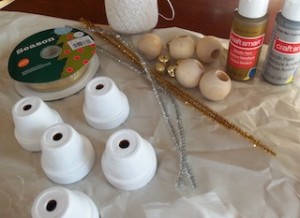
Once the pots are completely white, allow them to dry completely. While they are drying you can work on creating the halos, bells and angel wings.
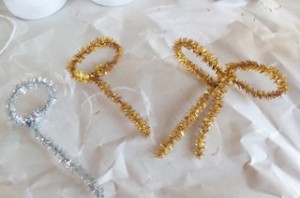
For the angel halo cut a pipe cleaner in half. Bend the pipe cleaner to make a circle. Measure the halo length against the clay pot. You want the end of the halo to be in the middle of the clay pot when the wooden head is on top of the pot. See photo below a few pictures down for measurement.)
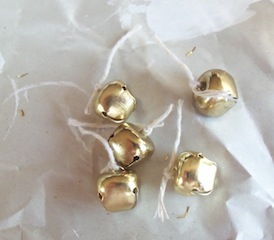
The bells will be positioned inside the clay pot and hanging from a string or ribbon. I forgot the thin ribbon so I just used twine. Take a small string and tie it to the top of each bell.
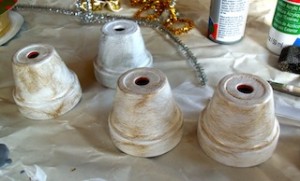
Now that the white paint is dry, it’s time to apply the silver or gold acrylic paint. Take a foam brush with a very small amount of gold or solver paint on it. You want the brush almost dry to apply just a small amount of color. Brush with criss-cross strokes to create a nice pattern.
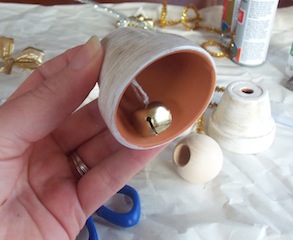
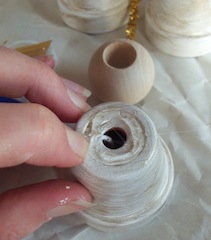
Place the bell inside the clay pot. A small amount of the ribbon or sting should pop out of the top hole in the clay pot.
While holding onto the end of the string, apply hot glue around the inner edge of the top of the pot. Quickly add the wooden doll head on top of the glue. The bell string should be pinched between the pot and doll head.
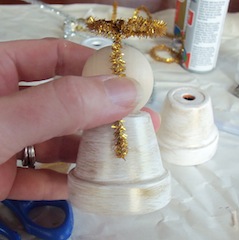
Apply hot glue to the back of the pot and place the pipe cleaner halo on the back of the angel.
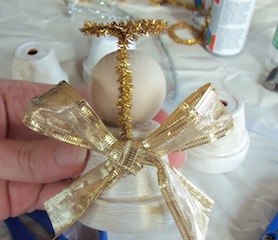
For the angel wings make a bow out of the wire edged ribbon. Apply hot glue over the pipe cleaner halo and add bow.
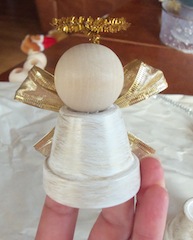
If you desire you can draw a face on the angel with a pen made for wood application.
Make sure to look over my other homemade ideas for Heartfelt Holidays!
Linked at Tatertots & Jello, Crystal & Comp.
Latest posts by Renae Chiovaro (see all)
- Last Minute Batgirl Costume - October 22, 2016
- Agnes & Dora: Comfortable & Affordable Clothing - September 19, 2016
- Life is a Highway - September 17, 2016


WOW, I love this! So easy and very creative…I will have to try and make this with the kids.
LisaLisa recently posted..WANTED!!! Bloggers needed for Kitchen Aid Giveaway!
Aww! My heart just melted a little! We are definitely making these! Thank you for sharing!